julianna kunstler logo
Basics of oil painting

Instagram icon
 

by JuliannaKunstler.com

For your very first oil painting:

Stretch a piece of canvas onto a frame. Make sure it's very tight.

Let it dry.

Sketch before you start!!!! Have a good comprehensive preliminary drawing, including shading for value relationship.

When your canvas is dry - transfer your sketch.

Then get started!

GALLERY

oil painting student example

INFO:

linseed oilturpentineturpenoid

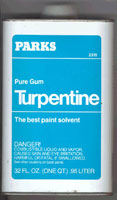
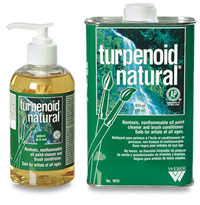
You need to have one container with just solvent, and the other with medium

A standard painting medium is 1 part oil to 2 parts solvent.

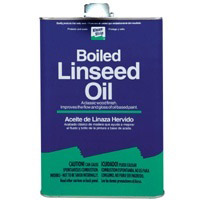
The most common oil is linseed and its varieties (refined, cold pressed, or stand oils) but some painters use safflower, walnut or poppy oils.

Put the solvent (mineral spirits, or brush cleaning fluid) in a closeable container.

oil paints

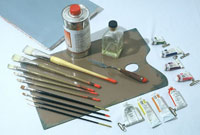
Have enough room for your palette, brushes and palette knife, solvent and solvent/oil containers, rags and paint tubes to be comfortably displayed, readily available for you to use.

palette

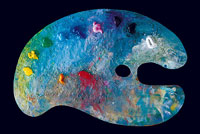
If you choose to buy a variety of paint colors, try not to get excited about squeezing every single color onto your palette before you begin to paint, as this will waste a lot of paint.

oil paints

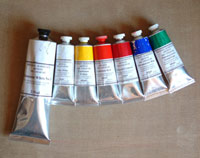
Keep your paint closed. oils are too expensive to let them dry!!

easel

Paint!

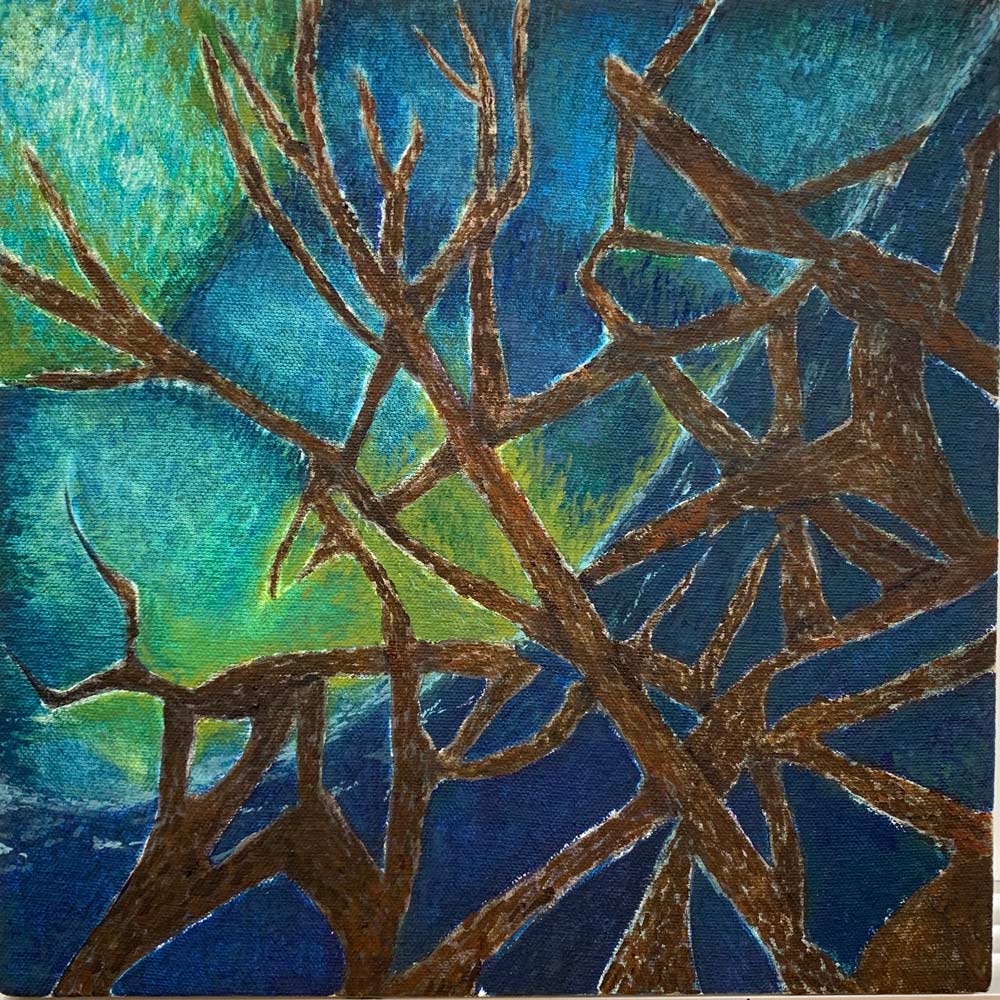
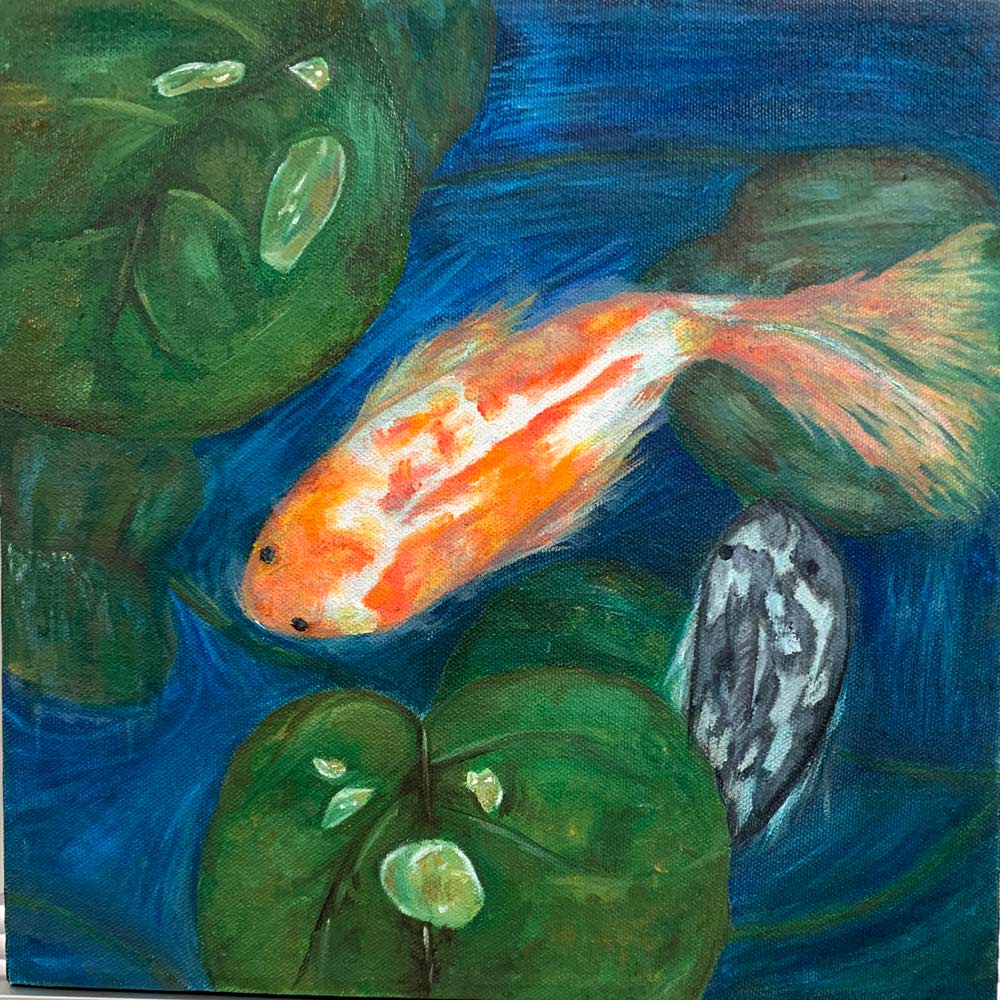
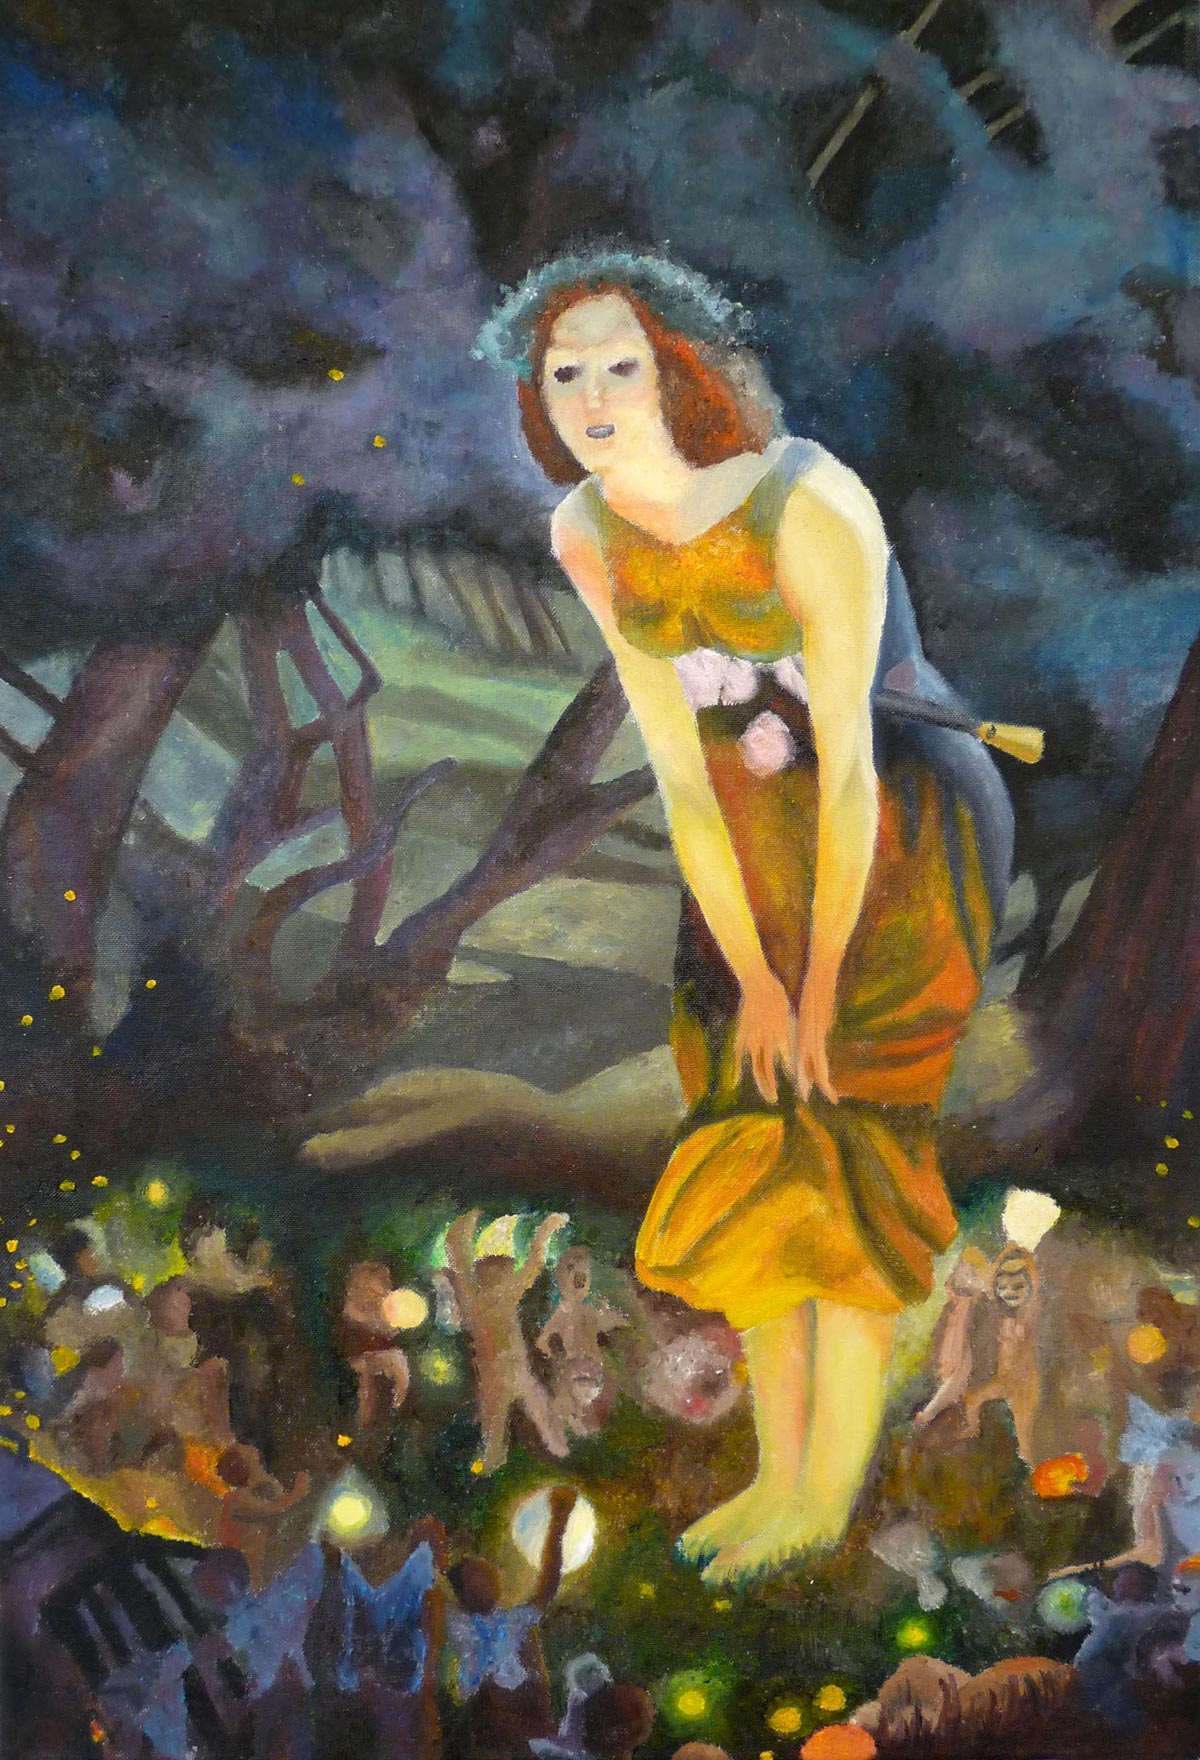
This part really depends on what you want to produce. However, there are certain things to keep in mind no matter what you're painting.

For example, oil paints have a short blending life on the canvas. It is not hard to turn an area into a dull brown mud spot if there are a lot of repetitive layers and alterations made.

If you try to alter something and it doesn't work immediately, grab a rag and wipe it off. All the paint from that area will come off.

Oils take a while to dry, so you have time to remove paint for almost 24 hours after the application. Just like any other paint, if you make the first coat too thick, it won't dry all the way.

paint brushestypes of brushes

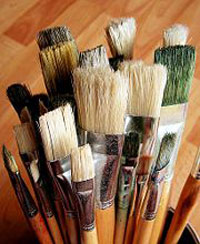
Clean your brushes well between color changes.

When you are ready to remove paint from your brush and use a different color, wipe as much paint off with a rag as you can before putting the brush into the thinner. This will make your thinner last longer and will remove more paint from the brush.

Swish your brush in the thinner container, then dry it off with a rag.

  • Give your work of art its space. When the first layer is complete, it will be about 48 hours before it will be dry enough to do the second application without smearing your first day's work. Don't leave your work in an area that is especially hot, or humid, and keep it in an area where it won't get smeared, scraped, touched, brushed up against, smooshed, etc.
  • If there is a good amount of paint left on your palette that can be used next time, use your palette knife to scrape the "good" paint together, then dampen a clean rag with thinner just slightly and wipe the rest of your palette clean. Use a piece of saran wrap to cover the leftover paint, wrapping it fairly snug.
  • Wipe dirty brushes off as much as possible with clean rags and then swish in the thinner, until there doesn't appear to be paint coming off of the brush. Do this to all of your soiled brushes. Under lukewarm running water, hold a bar of mild hand soap in one hand, then run the brush along the soap, as if you were painting on the soap. Go with the direction of the bristles until no paint runs off the brush. Hold the bristles between your index finger and thumb, under the running water, making sure none of the bristles are bent or frayed out. Press firmly with your thumbnail from the base of the bristles to the tip with your index finger firm against the back, opposite your thumb, until no paint comes out of the brush. Rinse soap out thoroughly, and wrap a clean rag or paper towels around the bristles of the clean, rinsed brushes, pressing to absorb excess water. Doing this after painting rather than waiting until the next time you want to paint gives the brushes time to dry completely, because you can't paint with them if they are wet.
  • Put the lid on the thinner container and leave it until next time, regardless of how cloudy it is. When the thinner settles, the pigment in the paint goes to the bottom, and clean thinner settles on top. The next time you want to paint, you can pour the clean thinner into a clean container, wipe the pigment from the bottom, then pour the thinner back into your thinner container, ready to go. (This process saves a lot of money!)

Tips:

  • If you have a hard time getting the paint off of your hands, baby oil or olive oil works really well. Wear rubber gloves (you can buy a whole box of the thin disposable ones), then you won't have to worry about the paint getting on your hands.
  • If you decide to only purchase the primary colors, squeeze a spot the size of a dime of Cadmium Yellow, Cadmium Red, and Ultramarine Blue on your palette, spacing them as far apart as you can, as if you were dotting the points of a triangle. Now put a portion of the Titanium White about the size of a nickel in the very center. Use your palette knife to mix colors.
  • A recommended 10-tube palette is Cadmium Red, Alizarin Crimson, Cadmium Orange, Cadmium Yellow, Viridian, Ultramarine Blue, Phthalo Blue, Dioxazine Purple, small Mars Black, and large Titanium White.
  • A great exercise to begin with is to use primary colors to create various shades of gray from white to black, and paint in black and white. This gives you a great opportunity to understand value and contrast.
  • The thinner/oil mix seems to last longer than just the thinner between cleaning, but when it gets really cloudy, it doesn't separate. Properly dispose of the old mix, and don't mix again until ready to use.
  • If you happen to get paint on the carpet or on furniture, "GOOP" (a mechanic's hand cleaner) works wonders.
  • If you leave brushes covered in paint for a long time, pour some thinner in a bucket or tray, and (with gloves!) work the brushes with the thinner until the paint loosens and comes off. (Important: Work in a very well-ventilated area.) If you are still having a rough time getting the paint off, dry the thinner off, and work the bristles in the palm of your hand with a little bit of GOOP hand cleaner. (You don't need water with the GOOP.)You can also leave the Goop in the brush. It will keep your brushes soft until you use them the next time. Just make sure you clean your brushes well before you start painting again.
  • Try making a painting using only your palette knife to paint with. It is fun and the results are interesting.
  • When applying colors, overcompensate your color values. If you want a spring green boat, start with stop light green. That way it will be more difficult for your paintings to have a bland, tired look.
  • In the process of creating a work of art, it is important to remember what "stage" the painting is in before setting up to work on it. The reason is a general rule that improves the final outcome considerably. It is referred to as "thin to fat" or "fat over lean." It means that your first application of paint to the canvas needs to be thinner and less "oily." That is why the thinner oil mix consists of 1 part oil to 2 parts thinner. As you progress through the stages of the painting, each application will have a bit more oil, and a bit less thinner.
  • When painting outside, be sure your canvas and your palette are not in direct sunlight. It is better to shade your canvas and palette because if you paint with the canvas in direct sunlight, it will cause you to mix your colors incorrectly. When you get home and look at your painting, it will be dark and muddy.
  • Also when painting outside, carry plenty of paper towels and a plastic bag you can tie to your easel for your trash. It is also good to carry tent stakes so you can stake your easel into the ground. It will help keep it from blowing over.
  • Try sketching your subject in on the canvas first with a lot of thinner and little bit of Raw Sienna. It will help you stay focused when painting outside.
  • A limited palette is recommended when painting outside as well. You can mix the colors you need and won't have to drag all of your paints out into the field.

from http://www.wikihow.com/Oil-Paint

...