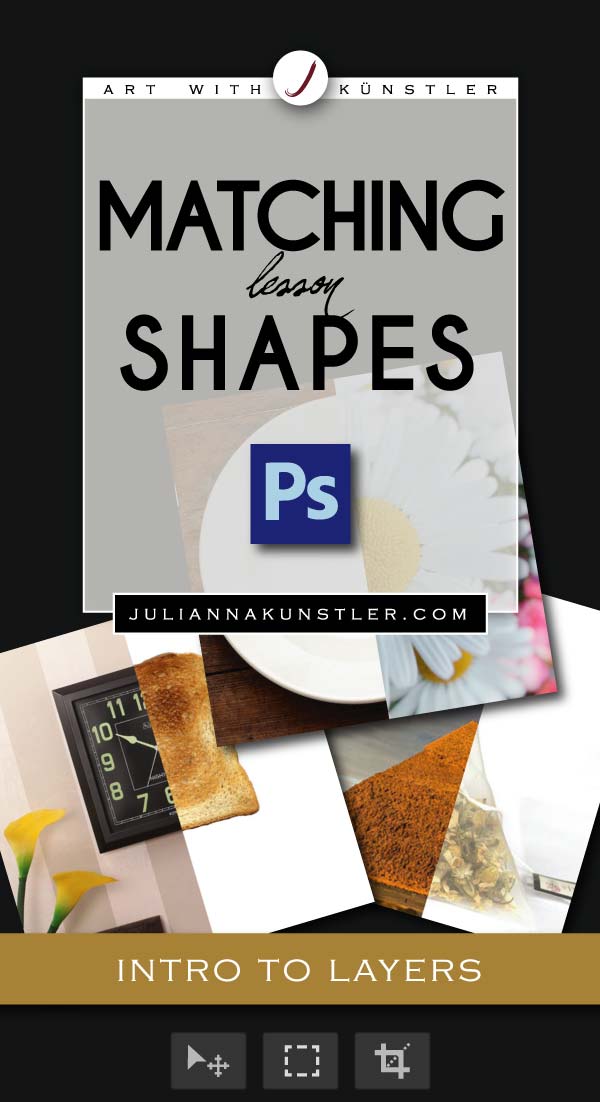
Open Adobe Photoshop application.
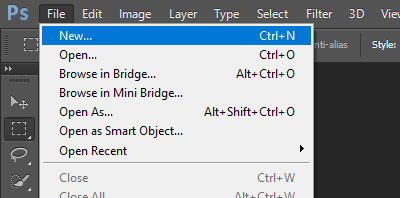
File > New...
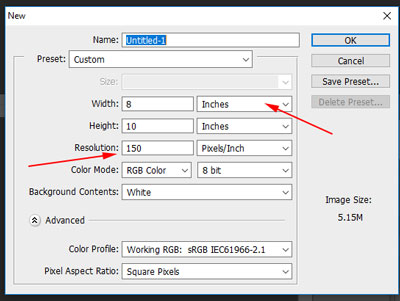
In the pop-up window:
Set dimensions to 8" x 10" (make sure the units are inches)
Resolution is 150
Click OK
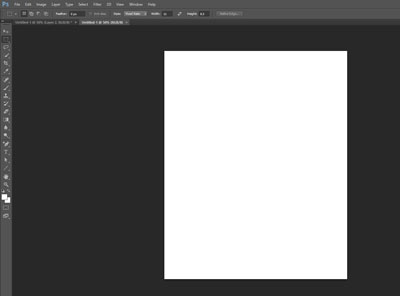
This is what it should look like at this point.
File > Save As...
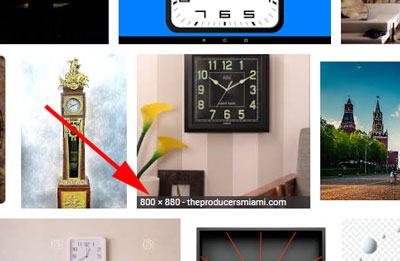
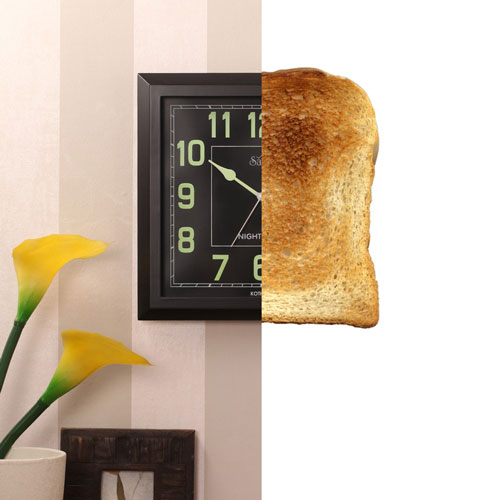
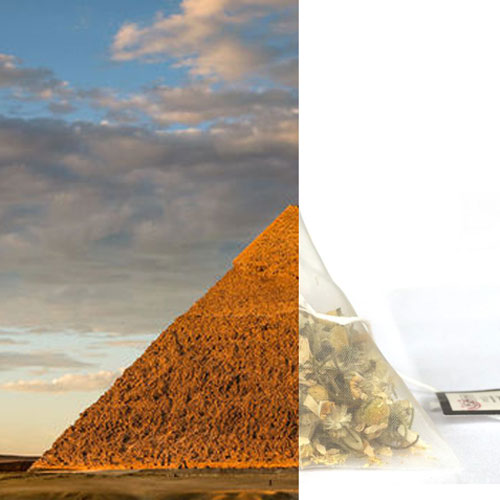
Search for images.
The images should be a good quality.
You can check that by rolling over the image thumbnail. The smallest image dimension should be at least 600 pixels.
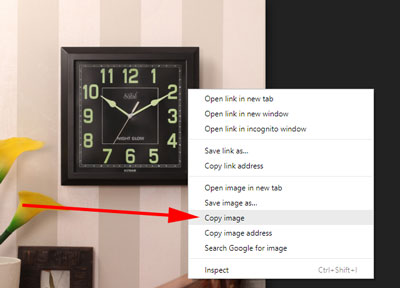
Right-click on the image
Copy image
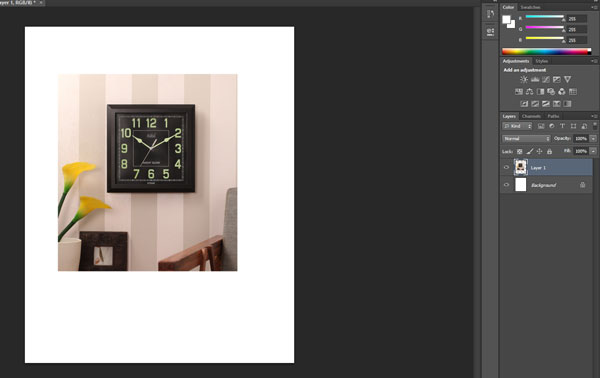
Return to Photoshop.
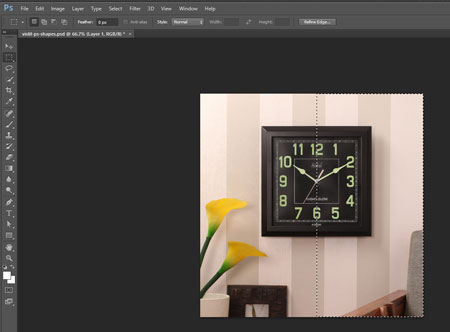
Paste the image. Depending on the image size, it can fit or not fit inside the image window. Either way no worries.
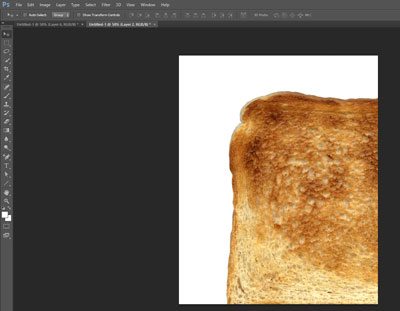
Find and paste the second photo.
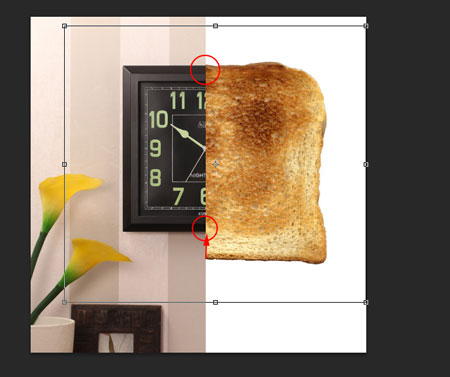
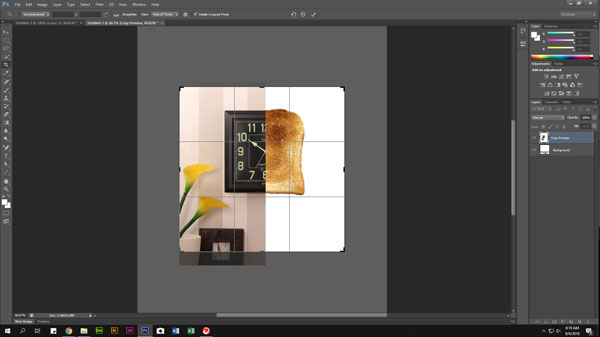
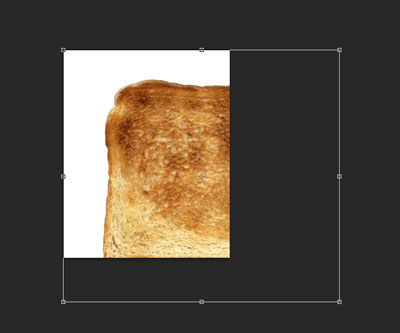
As you see from this example, this photo is much bigger that the image window. So we ar4e going to resize it.
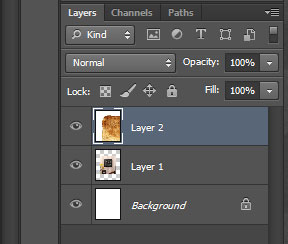
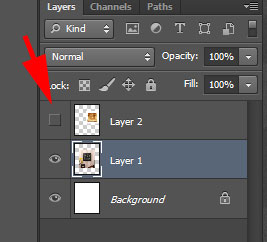
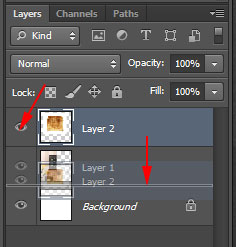
Open Layers Palette. Go to the Menu Bar at the top.
Window > Layers
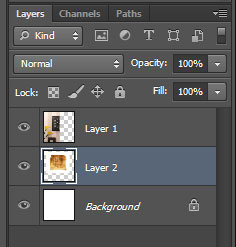
You should have a blank Background Layer, Layers 1 and 2.
Each layer holds an image that you placed.
To edit each image you need to select its layer (by clicking on it in the Layers palette)
Moving and resizing
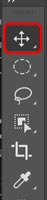
In the Tools box: select the Move tool.
Use this tool to move a layer.
A layer needs to be selected.
To resize:
Go to the Menu bar.
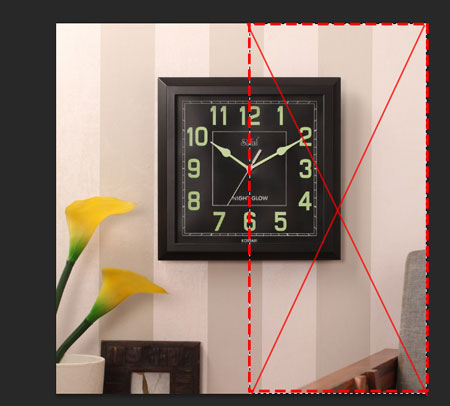
Edit > Free transform
You will see a bounding box around your photograph (layer).
If the photo is bigger that the image window - the box will extend outside.
Hold Shift key when resizing to constrain the image proportions. Otherwise you will distort the photo.
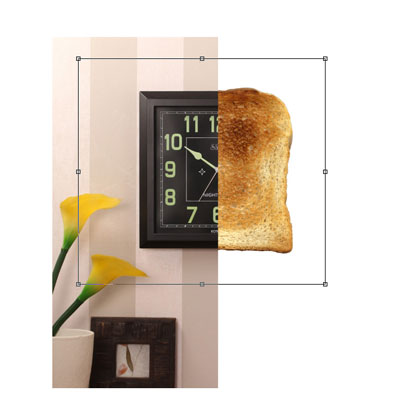
Resize a layer.
The shapes don't have to match perfectly yet.
To apply the transformation (resizing): hit Enter key.
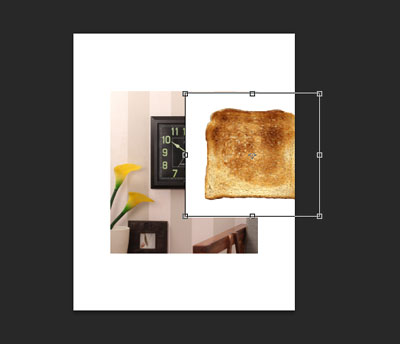
Repeat resizing steps for the other layer if needed. Remember to select the correct layer in the Layers palette.