by JuliannaKunstler.com
GALLERY
STEPS
Download the two files:
|
|
 |
|
 |
|
 |
|
 |
|
 |
|
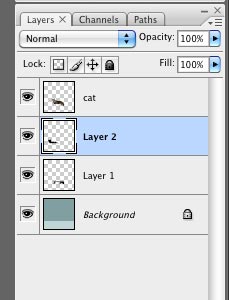
| This is what your Layers Palette is like: |
|
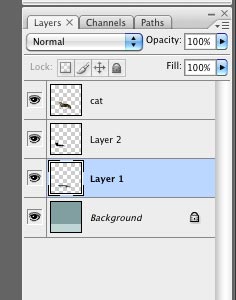
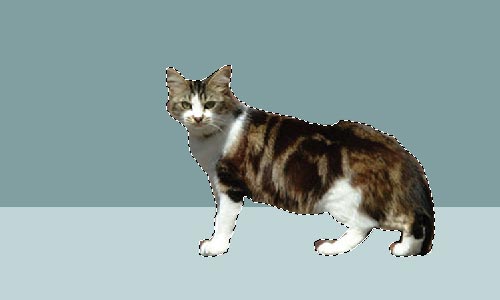
| Select Layer 1 |
|
 |
|
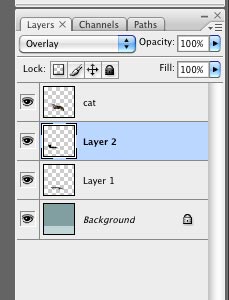
Now back to Layers palette. Choose "overlay" blending mode for Layer 2 |
|
 |
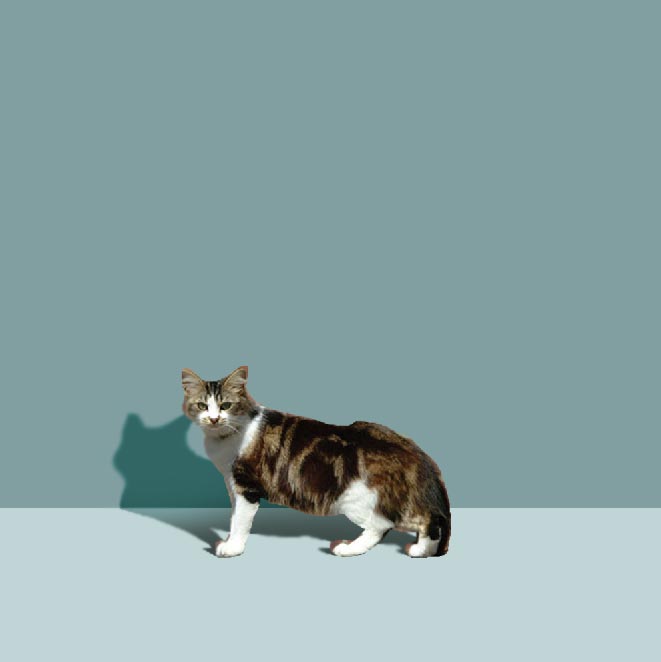
Should look loke this. |
 |
|
 |
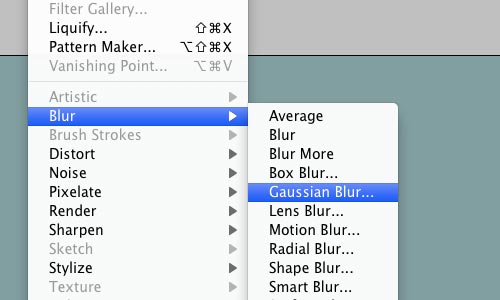
If you choose to use Gaussian Blur Filter - adjust the settings.. |
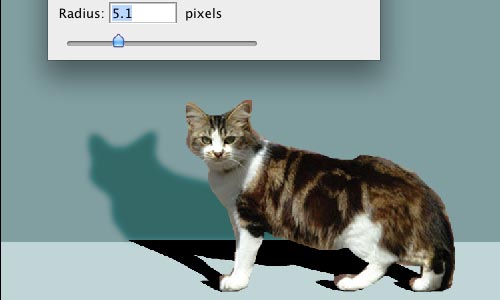 |
Like this. |
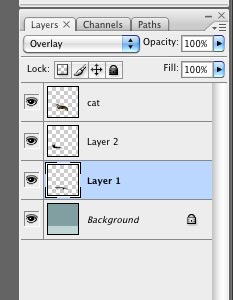
| Same "overlay" blending mode for the Layer 1 |
|
 |
Should look like this. |
Duplicate Layer 1 Change blending mode to "normal" |
|
 |
|
|
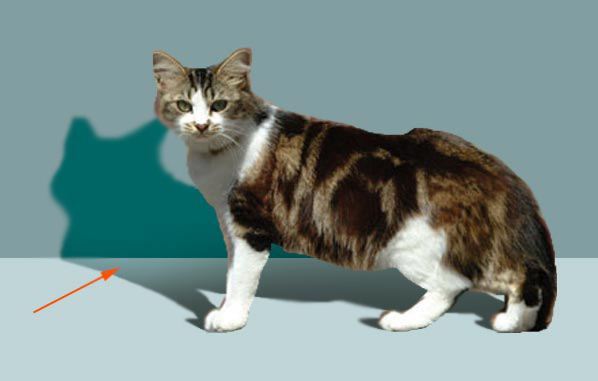
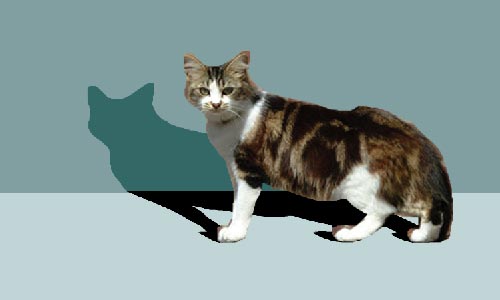
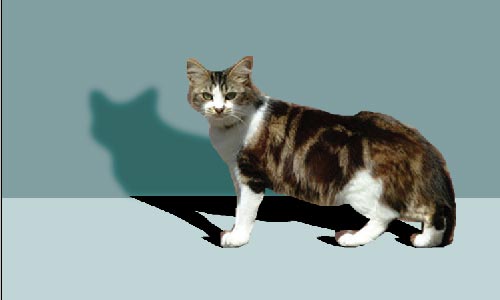
Use Large Soft Eraser to lighten up the areas that are further away from the cat. You can use Blur Tool to soften the edges of the shadows. Done! |
|