
Learning targets:
Adobe Illustrator:
- Transform panel
- Symbols
- Clipping mask
Adobe Photoshop:
- Gradient layer mask
- Combine images
- Remove backgrounds
- Filters

by JuliannaKunstler.com
Adobe Illustrator:
Adobe Photoshop:


Open Adobe Illustrator.
New file:
12" x 12"

Insert a circle (d=11")
Click on the artboard with Ellipse tool and enter the values.
Center it on the artboard (use Align palette, change options to "Align to Artboard", align horizontal center and align vertical center).

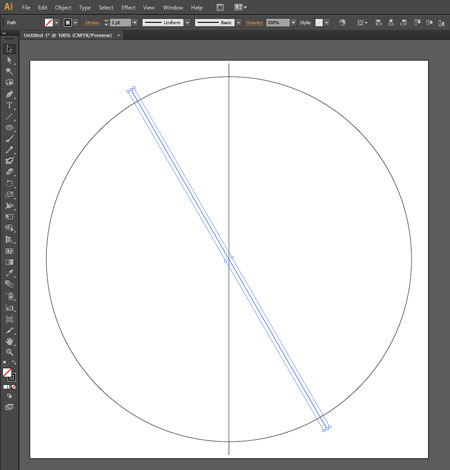
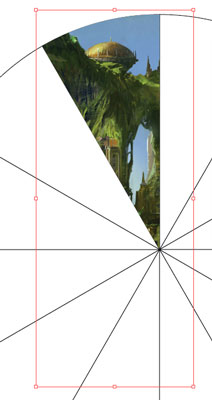
Use Line tool and draw a vertical line that extends past the circle borders.
Hold SHIFT as you draw.
Center the line on the artboard.
COPY the line (Ctrl/Option C)
PASTE IN FRONT (Ctrl/Option F)
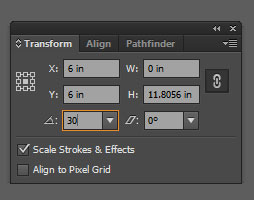
With that line still selected...
Open Transform palette.
Make sure the Reference point is in the center.
Rotate at 30 degrees.
This is what it should look now.
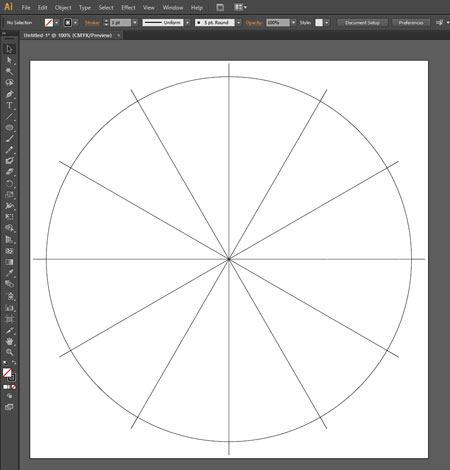
PASTE IN FRONT the first line again.
Rotate at 60 degrees.
Continue pasting and rotating every next line with additional 30 degrees.
(30, 60, 90, 120, 150, 180)
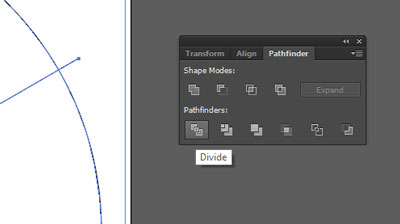
Select All (Ctrl/Option A)
Use Pathfinder palette, click Divide button.
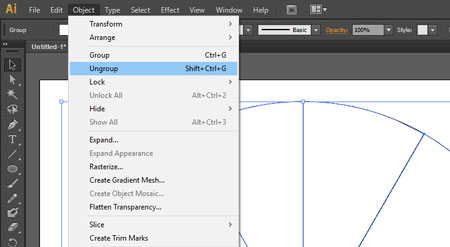
Object > Ungroup
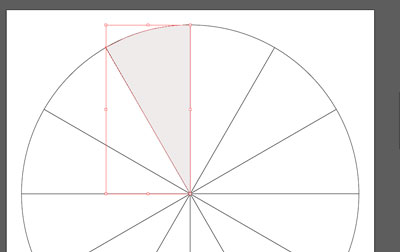
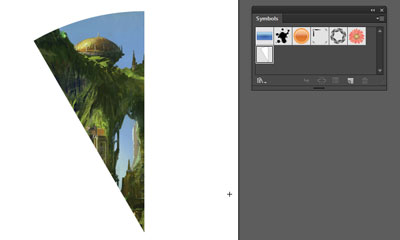
Select the top segment.
COPY it.
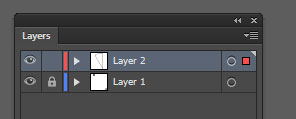
In Layers palette:
Lock your layer.
Create a new layer.
PASTE IN FRONT.
You are going to convert this shape into symbol - so keep it selected.
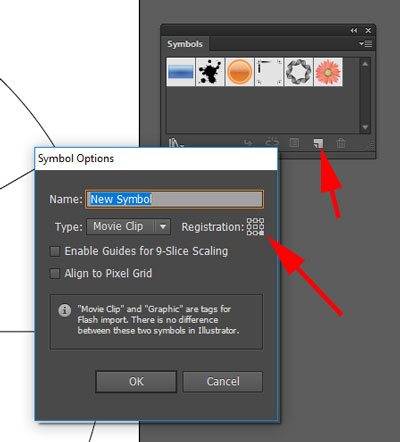
In Symbols palette:
Click New Symbol button.
Move Registration point to the bottom right.
Click OK
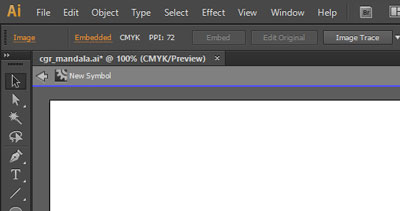
You are now in the Symbol editing mode.
You can check it by looking at the upper left corner of the image window.
(To switch back to normal mode - click on the arrow; or just double-click outside the symbol)
Once you created a symbol, it will appear in the Symbols palette (Window > Symbols).
Double-click on the symbol thumbnail to enter symbol editing mode.
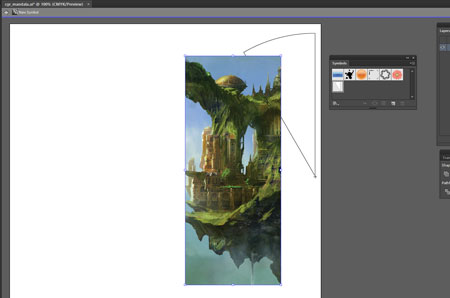
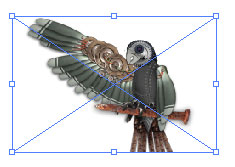
Paste (or drag) your first image onto symbol window.
If you drag an image - you will have to rasterize it first (remove link): Object > rasterize
It will appear on the top of the base shape.
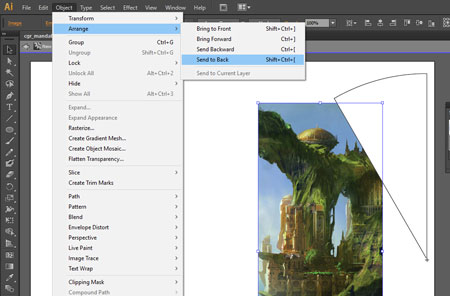
To move the image below the shape:
Object > Arrange > Send to Back

You top base shape will act as a "window for the images that you place beneath it.
It will show everything that's inside the shape and hide the rest.
So remove the fill property of the shape
If you need to - change the stroke color to contrast the image. The color of the stroke does not matter as it will be gone in the next step anyway.
Move the image, rotate it, resize, etc. until you are satisfied with what you see inside the shape.
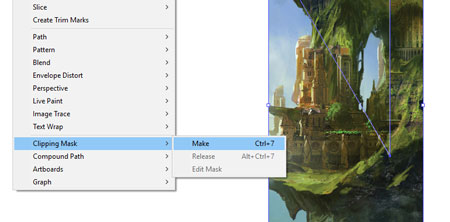
Then select both shapes.
Object > Clipping Mask > Make
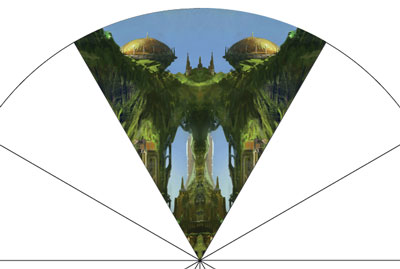
You have your first slice done!
The symbol thumbnail got updated.
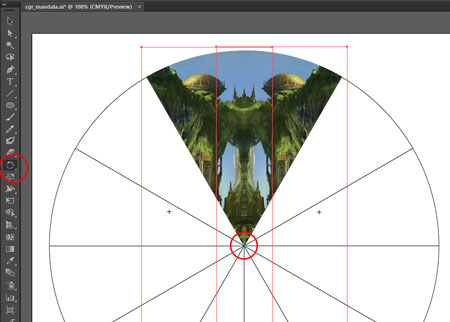
Turn on the Layer 1 (with the grid).
Select the symbol.
Align it with the grid slice.
Then copy (Ctrl/Command C)
Paste in Front (Ctrl/Command F)
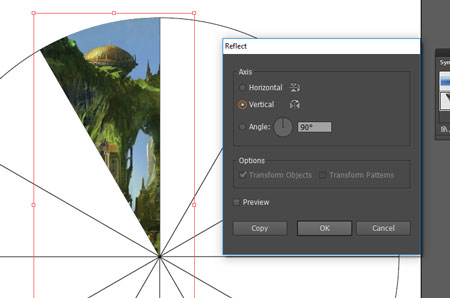
Flip the copy:
Object > Transform > Reflect
Vertical
OK
Align the second slice.
The two slices should be perfectly aligned to each other and to the grid, especially the center point.
Select both slices with Selection tool (black arrow).
Group them (Ctrl/Command G)
Select Rotate tool.
Move the Rotation point (blue) to the perfect center of the mandala grid.
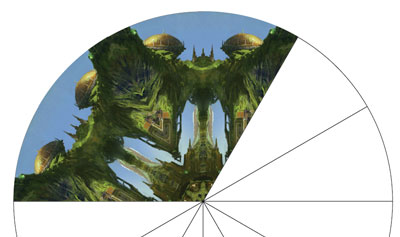
Now copy the group (Ctrl/Command C)
Paste in Front (Ctrl/Command F)
Rotate the copy 60 degrees.
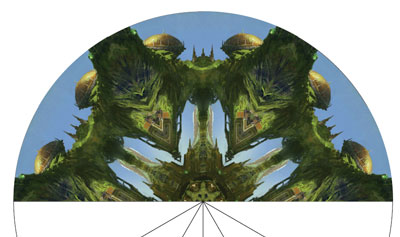
Paste in Front one more time.
Rotate -60 degrees.
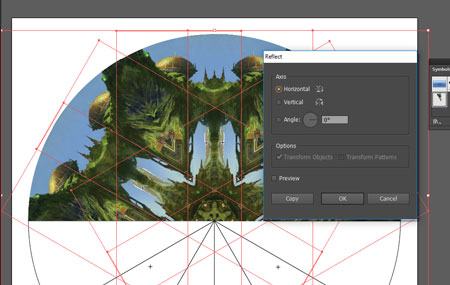
Now select all three groups.
Copy
Paste in Front
Object > Transform > Reflect
Horizontal
OK
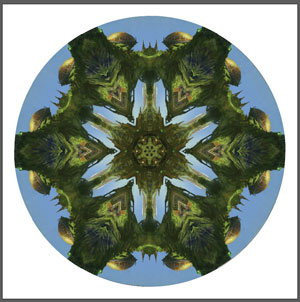
The first part is done!
Don't forget to save!
In Photoshop:
Save for Web an image with no background as a PNG-24 file.
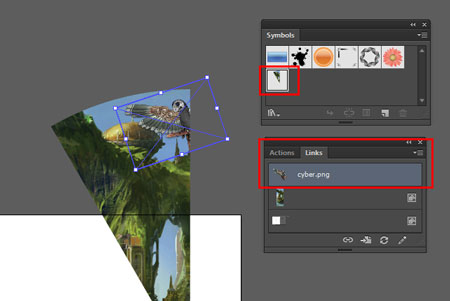
Drag an image onto the symbol's editing mode.
Open Links palette: you will see the link to the original image.
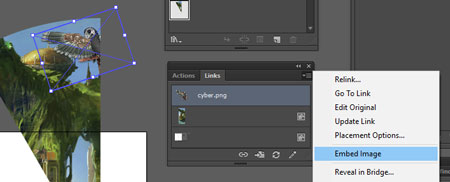
Symbols do not support linked images.
We need to embed it. Use Links palette.
Position and rotate, resize the new image.
Exit Symbol editing mode.
Agree to apply changes to all instances.
Continue adding more images to the symbol.
Make it fun!
Save when you are done.

New file in Photoshop:
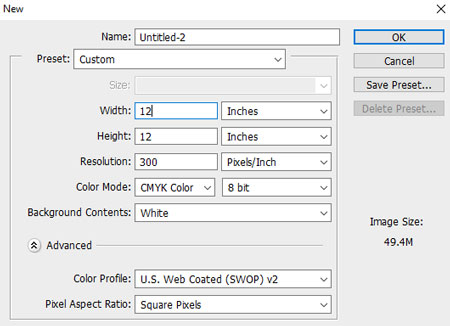
Find a background image for your mandala.
It should not be too complex - it's only a background...
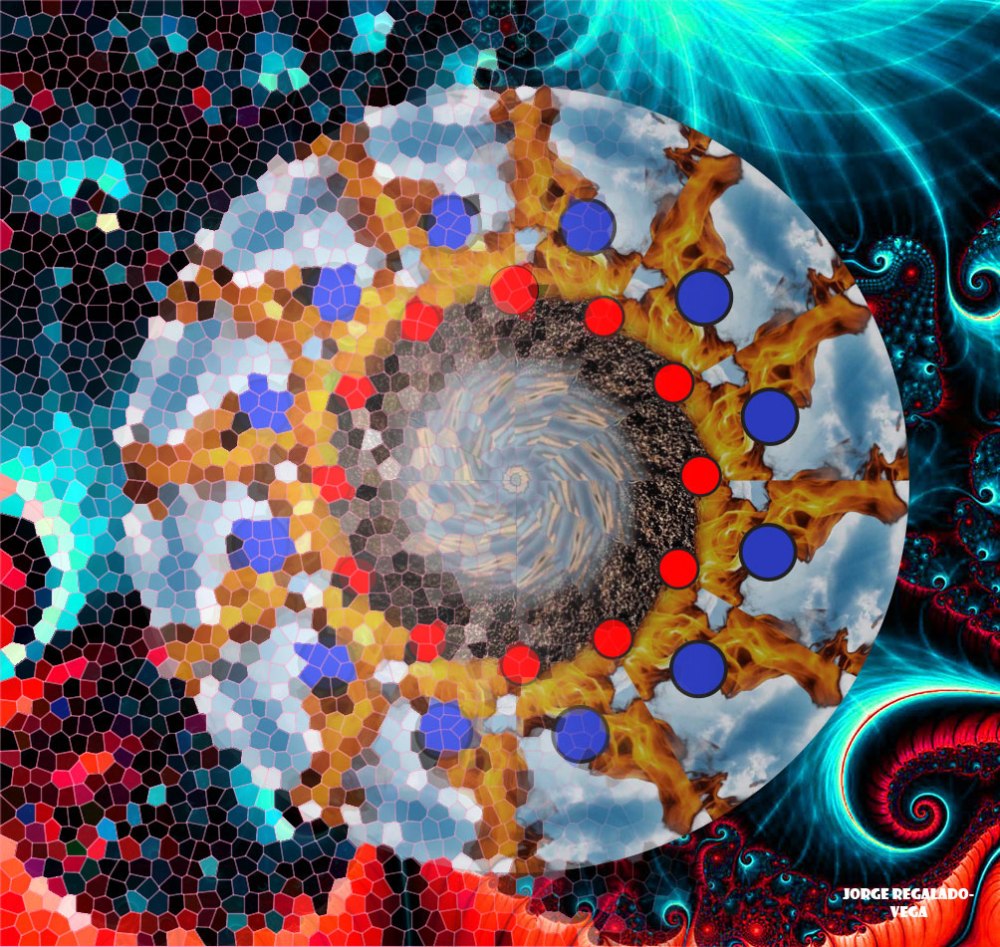
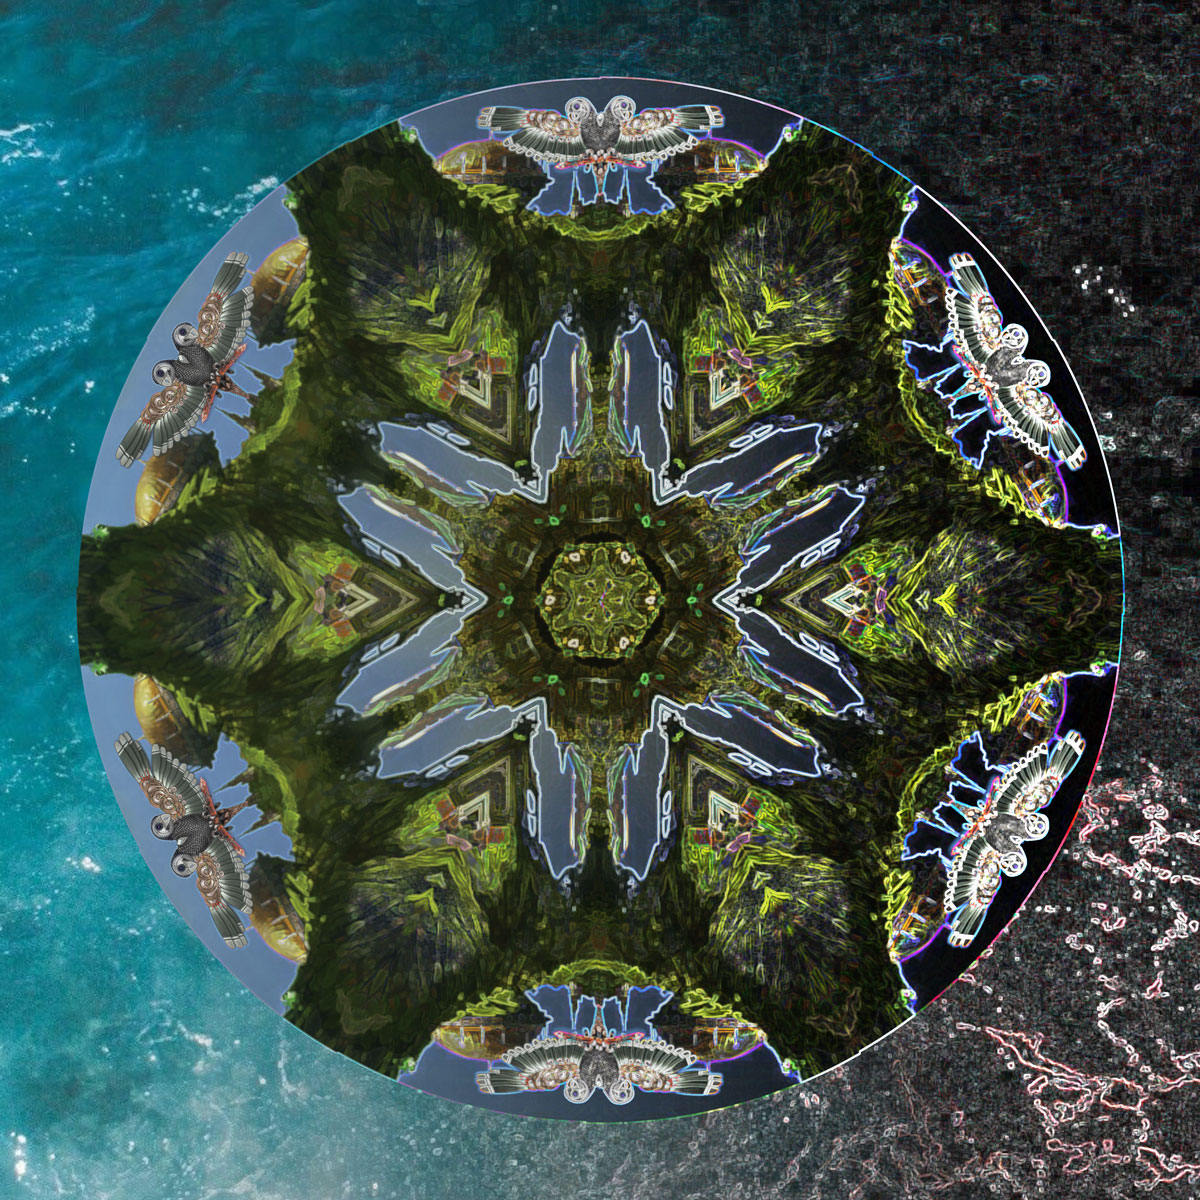
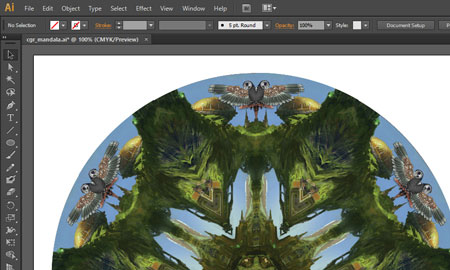
![]() In Illustrator file:
In Illustrator file:
Select your entire mandala (skip the grid).
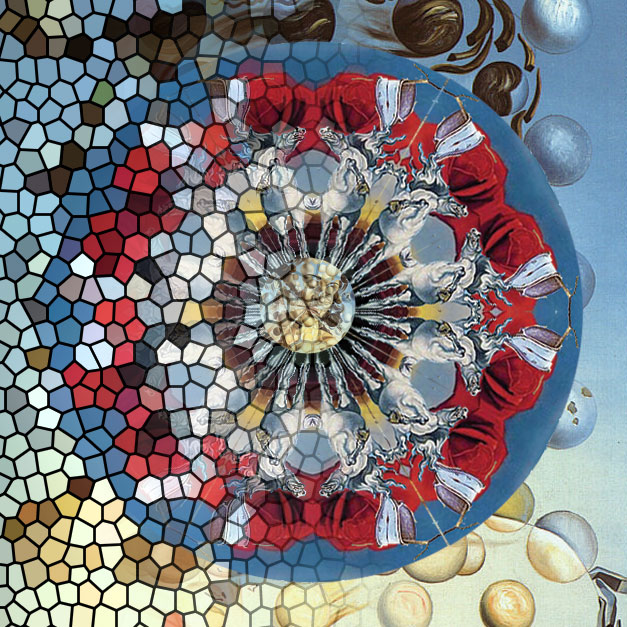
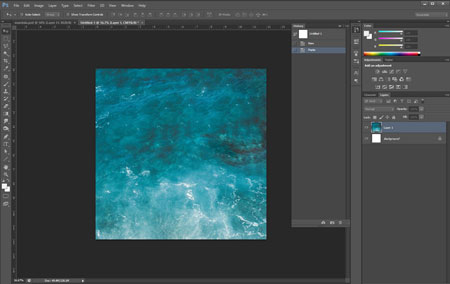
![]() In Photoshop file:
In Photoshop file:
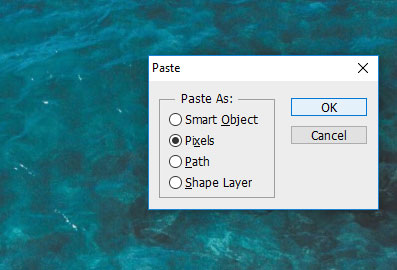
Paste
In the Paste window choose Pixels.
OK
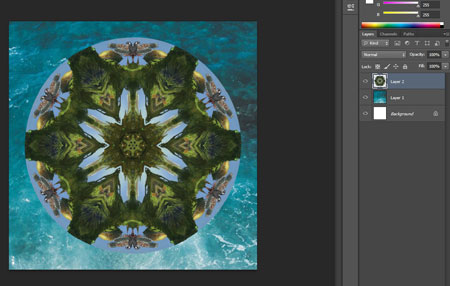
You are almost done with your mandala now.
In the Layers palette:
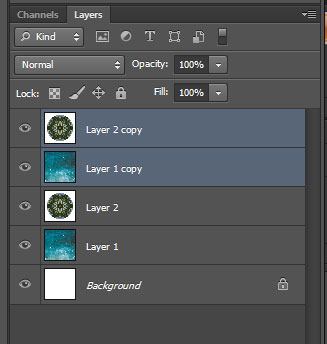
Duplicate Layer 1 and 2
Keep both of them selected.
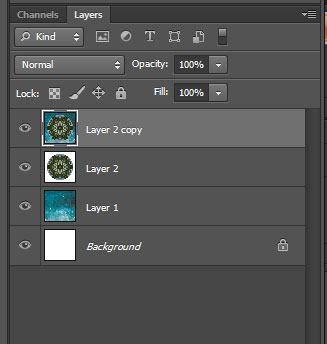
Merge them into one layer (right click > Merge Layers)
Next, we are going to add a soft mask to this layer.
So Add Layer Mask (at the bottom of Layers palette)
Choose Gradient tool.
Choose Linear option.
Black to White.
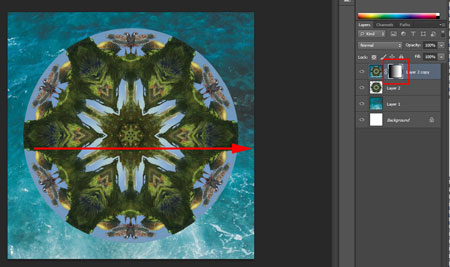
Drag the gradient from left to right across the image.
Make sure you are on the Layer Mask.
This is what it should look like now.
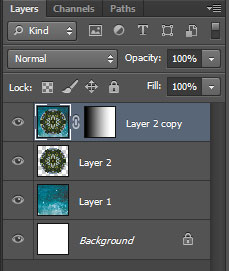
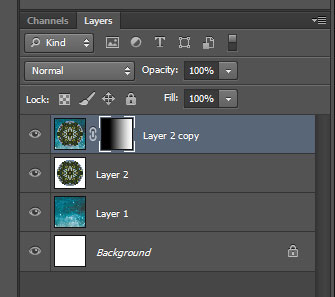
Switch to Layer thumbnail.
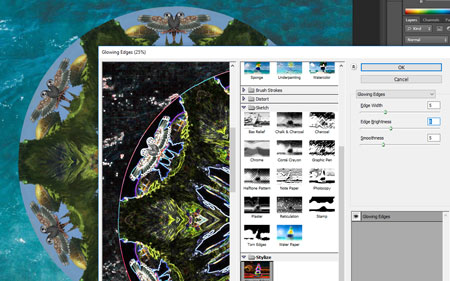
Experiment with filters.
Filter > Filter Gallery
Choose the one (ones) that you like.
Remember, you can apply multiple filters!
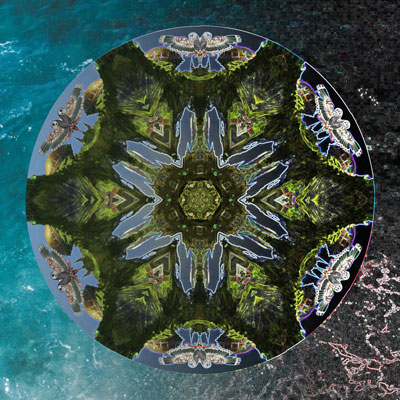
You should get a nice transition from original mandala to a "filtered" one!