borders
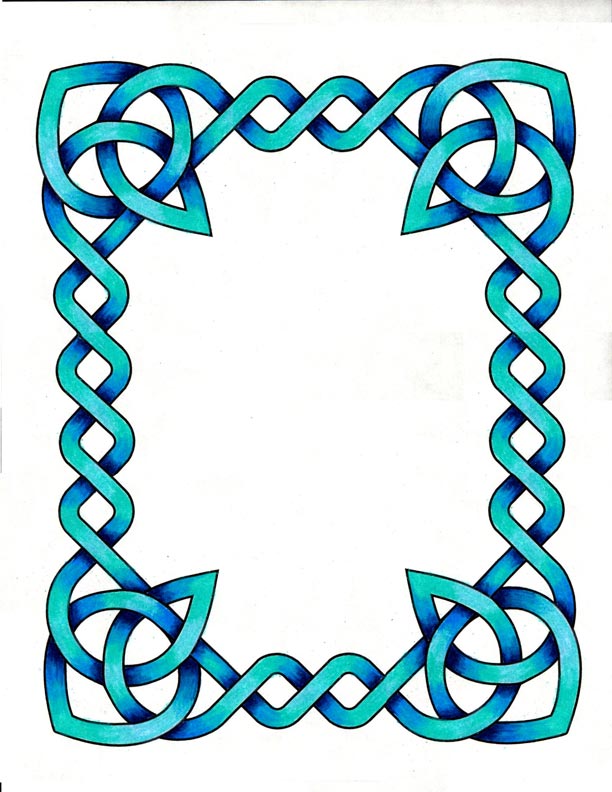
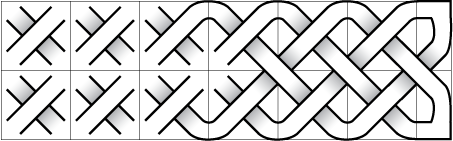
Strings of basic units make nice borders, but you need to come up with a corner unit to connect the units seamlessly.

They can be as simple or as complex and elaborate as you want.
Make sure you keep the width of the "band" consistent.
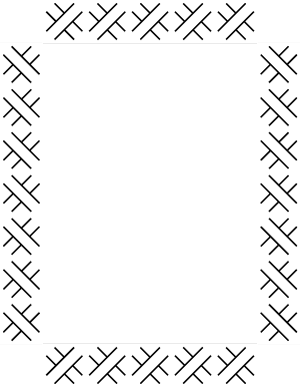
Use practice border worksheet and complete the design.
Now design your own corner unit.
Use corner unit worksheet. There is already a set of knot units that form a border.
You need to come up with your own design that is:
- symmetrical
- continues the "bands"
- does not leave any loose ends
- "bands" interweave inside the corner

You will have to connect the bands that face outside the border.

... and the bands that look inside the border.
Instead of connecting the loose ends with a straight line - create a knot in each corner trying to tangle these bands.
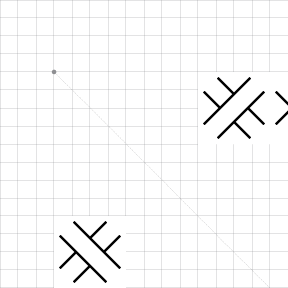
Follow the steps below.
Extend one of the "bands" into a curve that ends on the axis.
Curve can be any shape and complexity.

Note (and mark) a few key points - points that cross the axis, the most left/right/top points, etc.
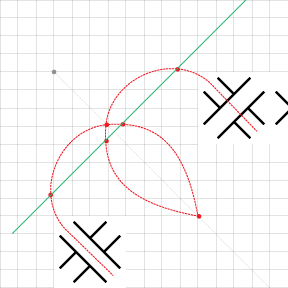
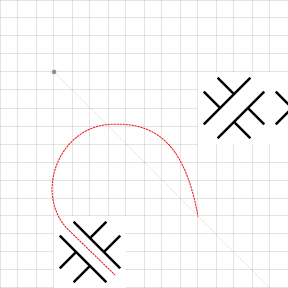
The opposite curve should be a mirror image of the first one.
It should go through the same key points on the axis.
The other key points should be the same distance from the axis.

The two curves should be connected at the axis as they are connecting the two parts of the same "band".
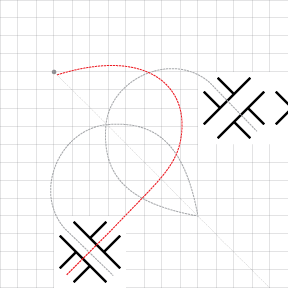
Extend the other band with a differently shaped curve.
make sure it stops at the axis.
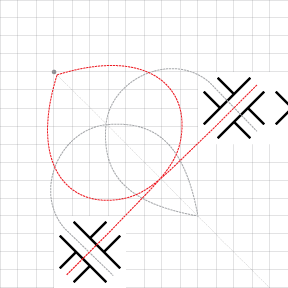
Draw a mirror curve.
example 1

example 2

example 3

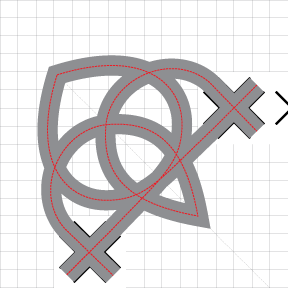
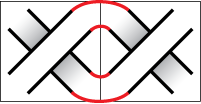
Now add width to your curves.
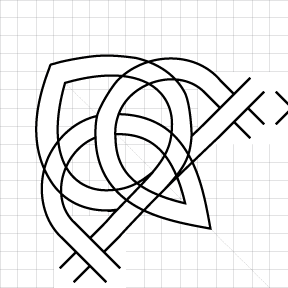
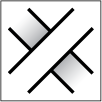
Now that you have all these lines drawn, it's time to make them interweave.
 Erase parts of the bands that are overlapped.
The general rule is :
If the band is on the top on one side of the axis, it should be overlapped on the other.
If the band is on the top at one crossing, it should be overlapped at the next one.
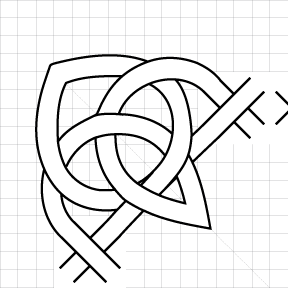
Erase all pencil lines and outline everything with a marker.

Shade the elements that are overlapped. Create a smooth blending effect for a realistic drop shadow effect.

Use a tortillon for blending.

As an option - you can use colored pencils for shading.