
Garland collage
basic encaustic process
by JuliannaKunstler.com
GALLERY

STEPS
Materials:
- 16"x20" black illustration board (or any other dark color)
- Glue bottle
- Green yarn
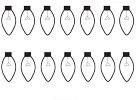
- Printouts (2)
- Wax crayons
- Tracing paper
- Iron
- Scissors
- Pencil
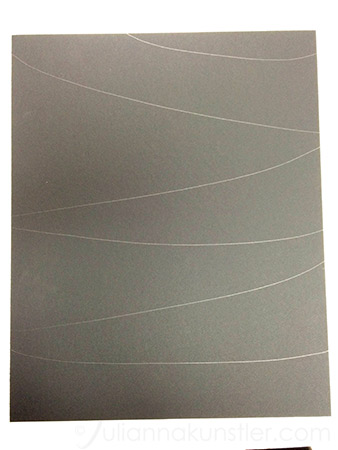
Step 1: the board
Draw 6-7 curves with a pencil. |
 |
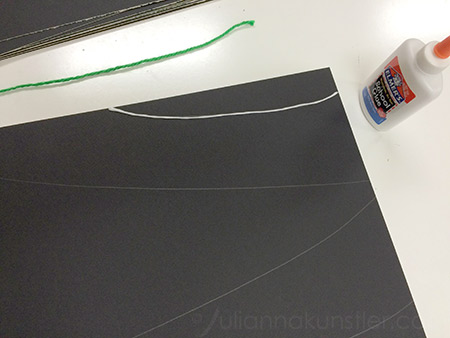 |
Precut green yarn to fit the length of the curves. Go over the lines with a glue. One line at a time! Place yarn over the glue line. Repeat. |
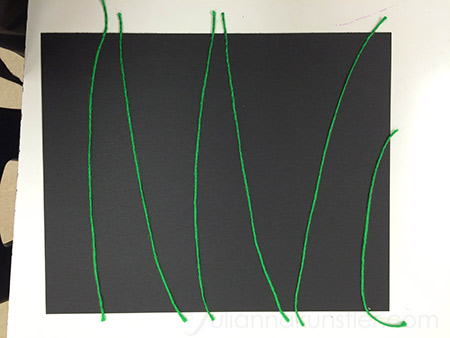 |
Let the glue dry. |
Step 2: encaustic
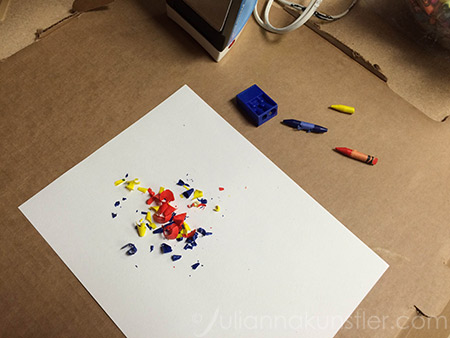 |
Shave some light/bright colored wax crayons. Do not combine complementary colors - they will produce brown when mixed. |
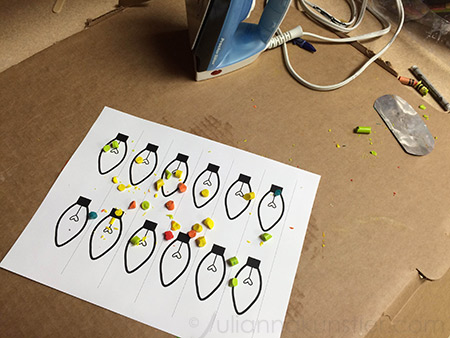 |
Lay the shavings on the printout. Make sure you have a table protected - use a piece of cardboard. Set iron temperature to low or medium. |
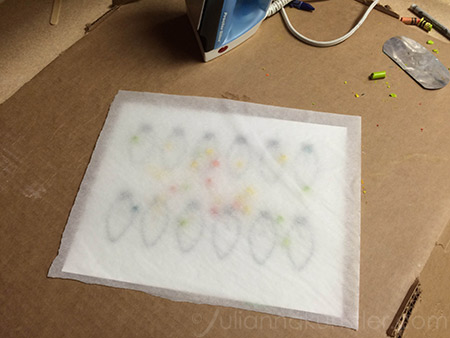 |
Place a piece of tracing paper over the printout. |
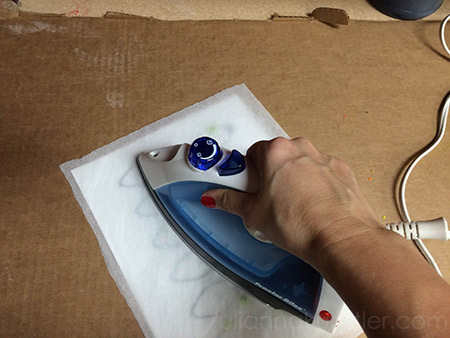 |
Hold the iron and move it lightly to start the melting process. |
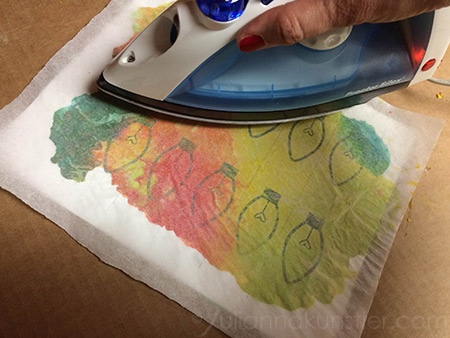 |
You can move melted wax back and forth to make sure all lights are colored. |
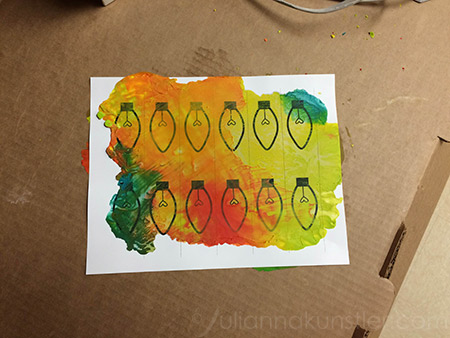 |
Remove tracing paper. Let the printout cool down. |
Step 3: putting together
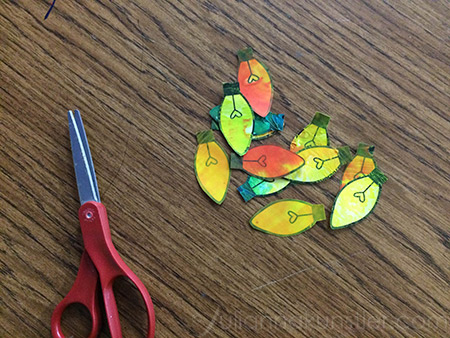 |
Cut out the lights. |
| Glue the lights onto the board. | 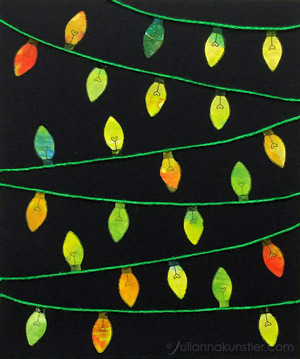 |
.
...