by JuliannaKunstler.com
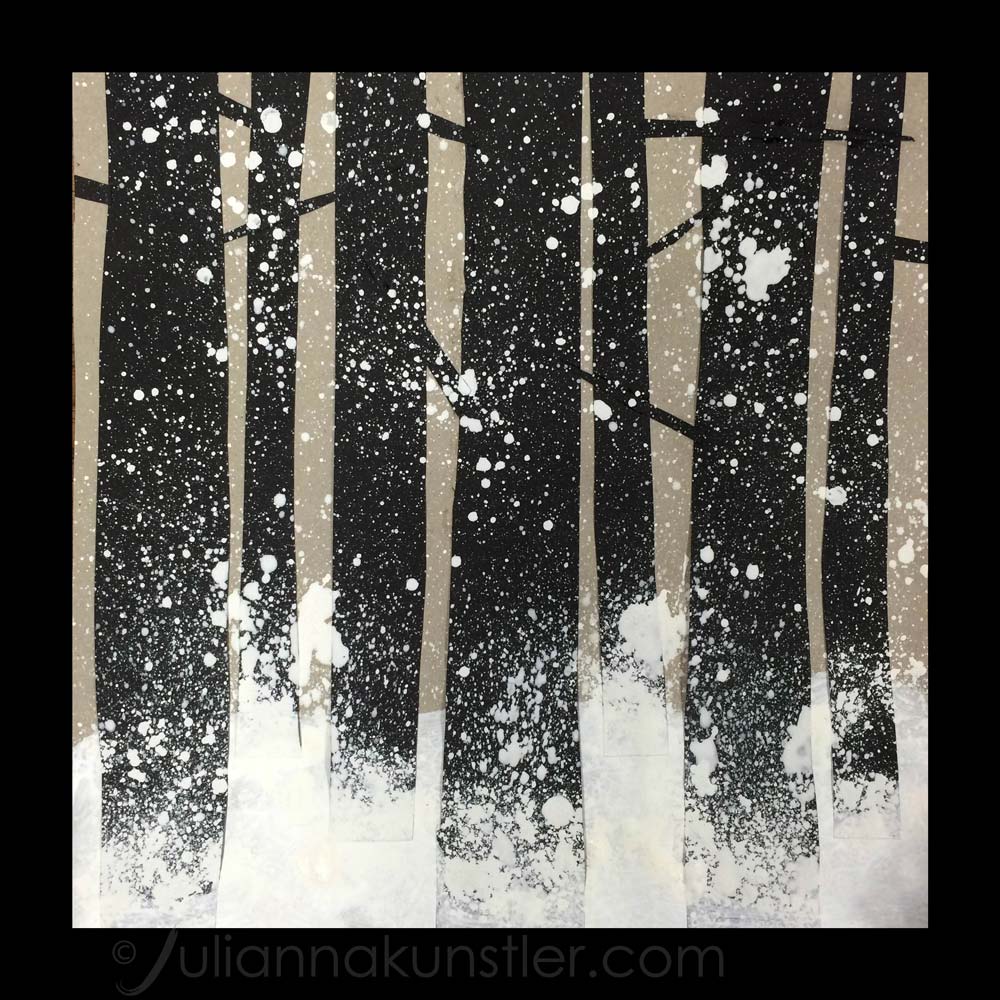
GALLERY
STEPS
Steps:
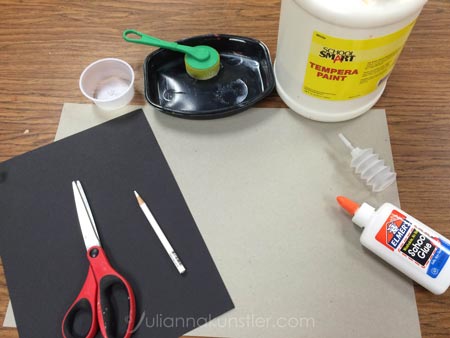
You will need:
 |
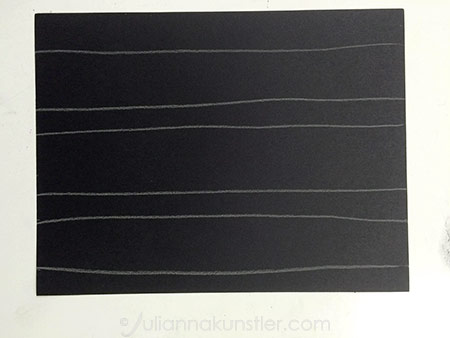
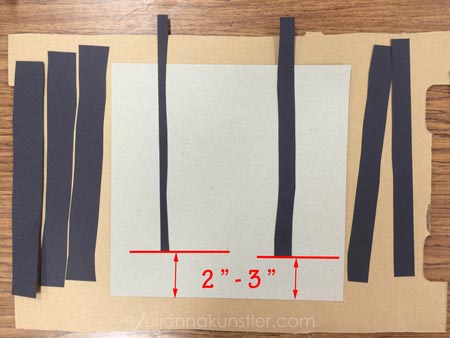
STEP 1:Divide the black paper into 7 - 8 stripes. These are going to be the tree trunks - they do not have to be perfectly straight. |
STEP 2:Group the trees into 3 piles:
Glue the thin stripes as shown (about 2-3 inches from the edge of the paper). |
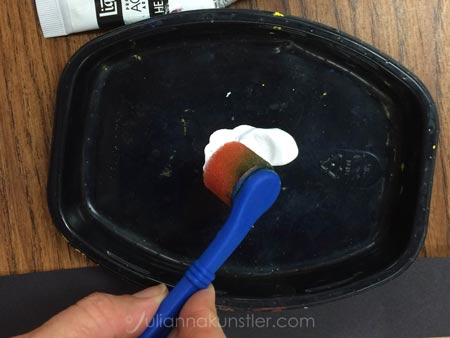
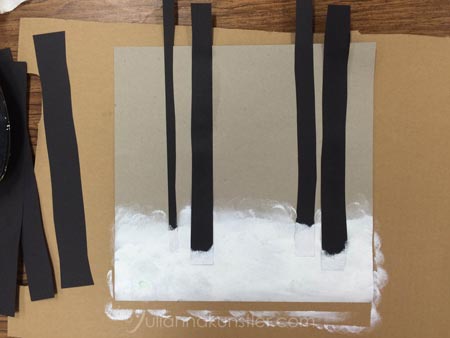
STEP 3:Put some white paint in a tray. |
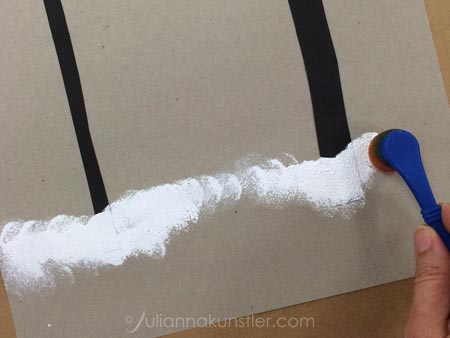
Sponge some paint onto the bottom part of the artwork. Cover a small part of the trees too. Let the paint dry! |
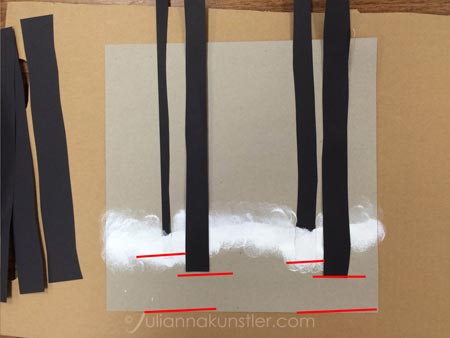
STEP 4:Glue the medium thickness stripes between the thin trees edges and the edge of the paper |
STEP 5:Sponge more paint covering the bottom part of the medium stripes. Let the paint dry! |
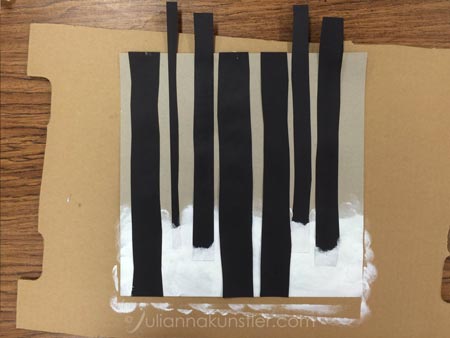
STEP 6:Glue the rest of the stripes. Align the top and the bottom of each stripe with the paper edges. |
STEP 7:Sponge some paint onto the thick stripes.
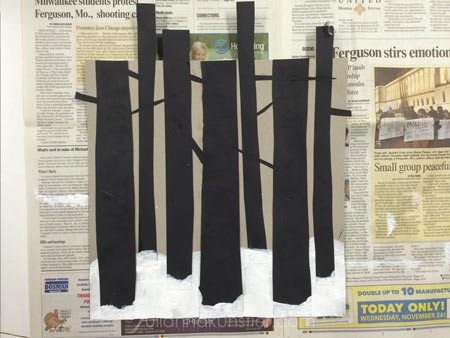
STEP 8:Use pieces of black construction paper to add tree branches.
STEP 9:Cut off the tree tops. |
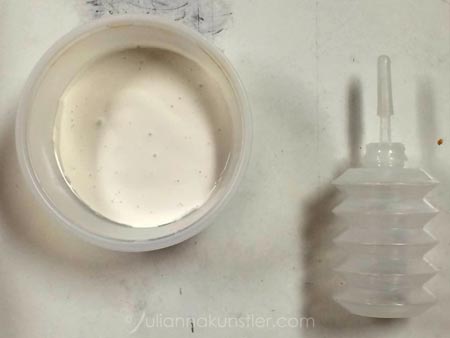
STEP 10:Pour white paint into a cup. |
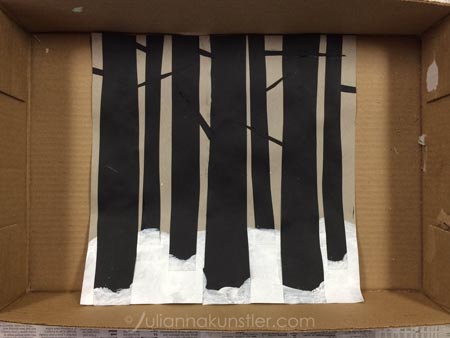 Place the artwork inside a box or cover the work area with newspapers. Place the artwork inside a box or cover the work area with newspapers. |
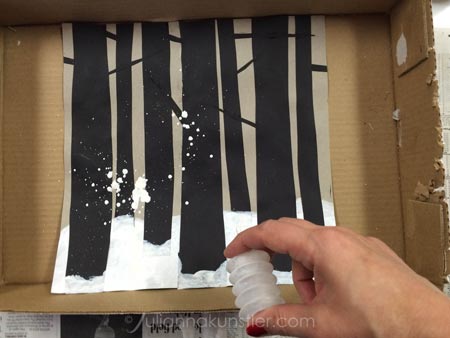
Splatter paint onto the artwork. Start at the bottom. |
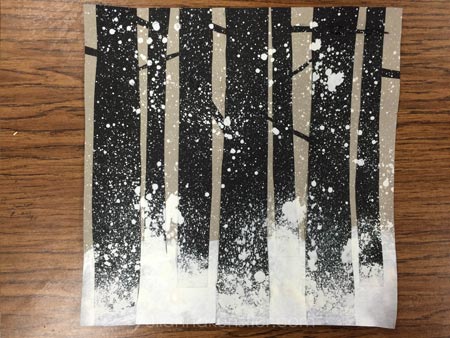 Let it dry. Let it dry. |
|